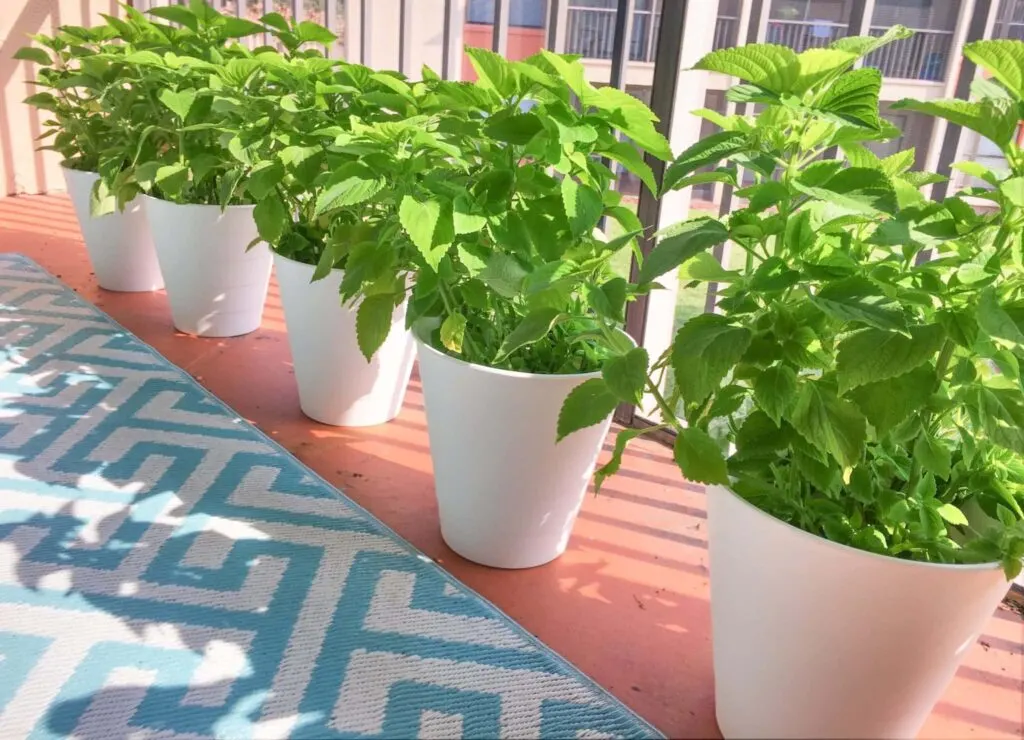
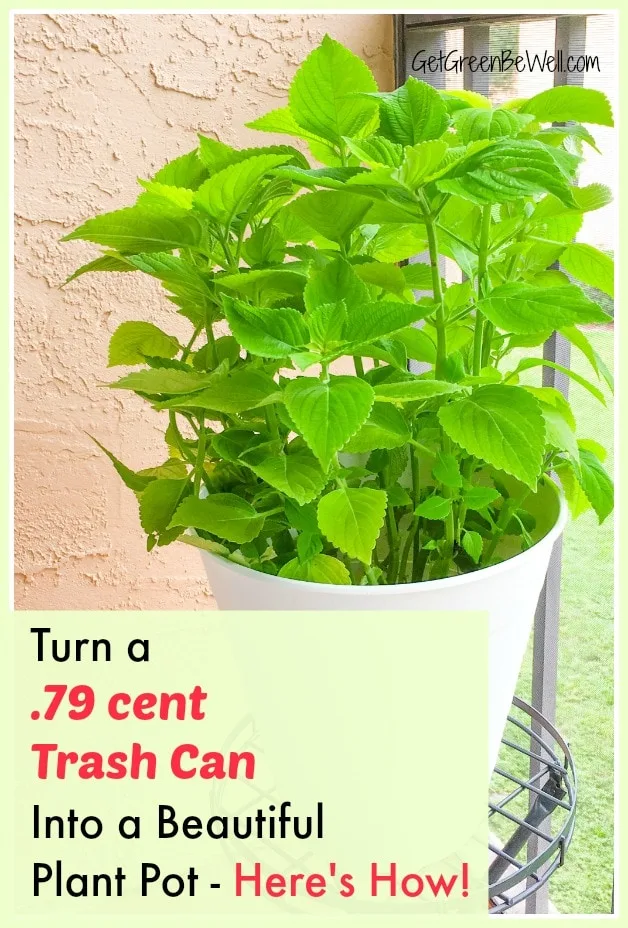
This DIY trick to turn a trash can into a large flower pot planter has saved me about $140. So I’m excited to share this money saving trick with you so that you can have large planters that don’t cost a fortune!
When I found gorgeous plants on clearance that would be perfect for my patio, I scooped up 7 of the cheap potted plants. They were only $2 at Walmart!
However, when it came time to finding pots for the large plants, I was dismayed that each pot would cost $10-30.
There is no way I’d spend $2 on a plant and then up to $30 on a flower pot.
So, after looking at every garden center, mass retailer and the Dollar Tree to try to find something that would work for less, I finally went to IKEA.
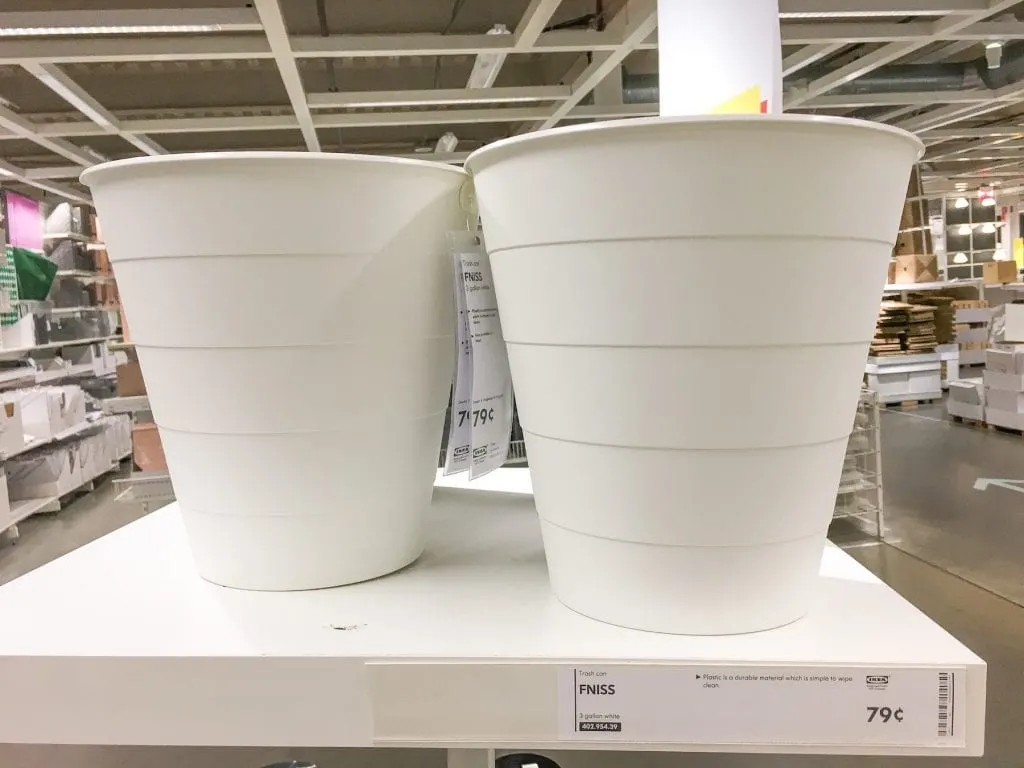
IKEA FNISS Trash Cans into Flower Pots
That’s where the magic happened.
Because even in IKEA, the flower pots and planters were incredibly expensive. I didn’t want to spend a fortune on a flower pot, especially when I needed so many of the planters.
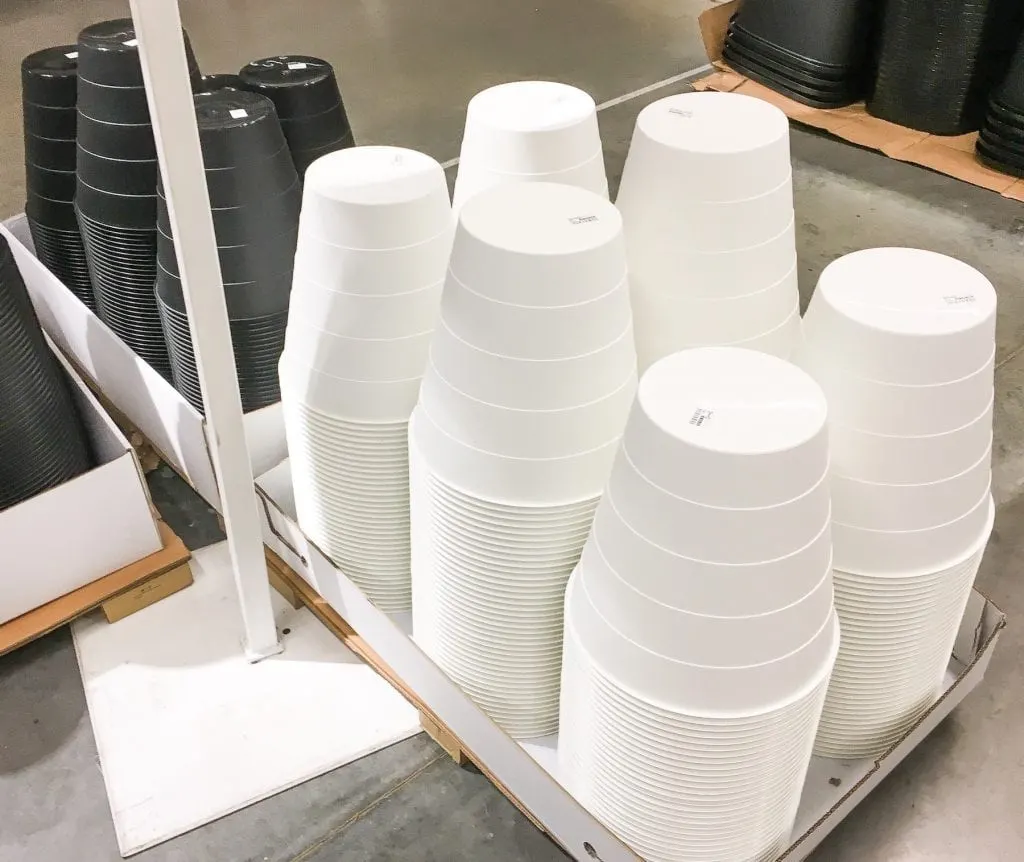
As I was leaving IKEA in a funk, with no flower pots to my name, I walked by the cash registers and there they were: and entire pallet of FNISS trash cans.
And I knew that I had just found my answer.
These modern looking plastic trash cans look like flower pots that I’ve seen in high end garden stores. I love the dimensional stripes on the plastic. It gives the trash cans turned flower pots a little extra pizazz. That way they don’t look like trash cans!
The IKEA FNISS trash cans come in two colors:
- Black
- White
I couldn’t find a price when I picked up several trash cans from the pallet. So I was THRILLED when I found out they were only .79 cents each!
Instantly, I contemplated whether I should buy more. But not knowing if they would look good, and because it’s such a hassle to return things at IKEA (they are slow as molasses, y’all), I only got a few.
As soon as I got home and saw how great these trash cans were going to look as flower pot planters, I instantly regretted not getting more.
So a few days later I went back to IKEA and bought even more (this time I actually found them in the housewares section, but they were by the registers, too).
How to Turn a Trash Can Into a Flower Pot
It’s not hard to turn any trash can into a flower pot planter. If you don’t live by IKEA, or if you find other trash cans with a nice shape or color, you can instantly DIY a flower pot from a trash can.
You will want to make sure that any trash can used for a flower pot is:
- Big enough for the plant’s roots to grow
- Not too top heavy
- Has adequate drainage holes (or put a flower pot with drainage holes inside the trash can flower pot)
- Does not let the soil leak out (or use clear pot saucers to protect from leaks)
- Clean from any trash, debris or residue
Once you have bought trash cans to turn into flower pot planters, follow these easy directions:
Create Drainage Holes
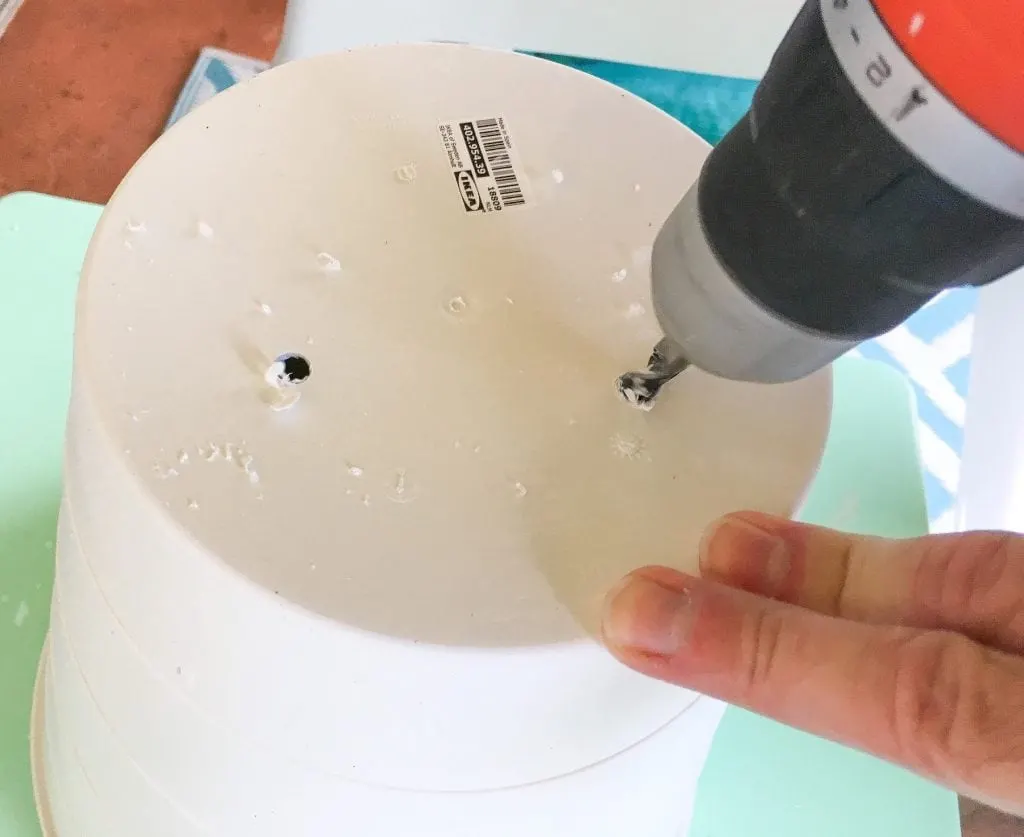
We used an electric drill to add several drainage holes into the bottom of the trash cans. This is extremely important so that you plants are not overwatered and soggy, without any way for the extra moisture and water to get out.
Using a normal screwdriver head, we put three small drainage holes into the bottom of the trash can.
You could choose to use one large drainage hole, instead. Punching out drainage holes with a large nail and hammer is also an option, if you do not have an electric drill.
Prevent Soil from Leaking Out
Potting soil can build up in drainage holes of a flower pot. The soil will then either run out of the pot, or clump up the holes. If the potting soil runs out of the pot, it will be a muddy mess and you’ll lose soil for the plants. If the soil clumps up the drainage holes, the pots can’t drain and the plants can remain too wet.
It’s not always going to be a problem, but it could be. Which is why now is the perfect time to prevent it before putting soil in the planter.
I put coffee filters or newspaper over the drainage holes before adding soil. This prevents soil from leaking out, but allows water to pass through.
If you are using newspapers, only use one or two single sheets. Any more will cause more problems for water draining through the newspaper.
I like to reuse supermarket ads when using newspapers in my garden.
Stabilize the Planter
If you have a tall plant, or if the top of your trash can is bigger than the base, you might want to stabilize the planter. Especially if there are animals or high winds that could knock over your planters.
Add some stones or bricks to the base of your planter before adding soil. Be sure not to cover the drainage holes with the rock or brick.
Add Soil and the Plant
Taking a few precautions before adding the soil and plant will save so much time and hassle in the long run.
Now it’s time to finally finish planting!
I only use mushroom compost (or a half and half mixture of compost and potting soil) after I had this problem with potting soil and fungus gnats.
Everyone says you can’t plant in straight compost. I’m sure there are some plants that can’t take it. But all of my plants have thrived without using any extra fertilizer by planting them in compost.
If you want, add in some moisture retaining beads or additional fertilizer with the soil.
Add the plant, be sure to cover the roots, and water.
While I focused on using these trash can planters for decorative plants, they would also be perfect for trash can gardening to grow food crops at home. Because it can be super easy to grow vegetables in containers!
Also, they would be great for the lavender that I’m growing to naturally repel mosquitoes.
Indoor Planters
If you are using this flower pot indoors, be sure to put a drainage pan underneath the pot to catch moisture. Otherwise you could ruin your floors with water leaking. Or, just put a potted plant inside the trash can to avoid worrying about drainage issues.
Wondering what plants to add to your home? These are the best bedroom plants to clean your indoor air.
Another cheap and easy plant craft are these DIY air plant holders.
Jo Ann Williams
Sunday 13th of March 2022
My daughter and I and some friends went to Ikea of Pittsburgh,PA.,yesterday and ran across these and immediately thought what a nice planter. I'm going to use my for container gardening on the patio and she has endless possibilities for hers after purchasing a new home., and being a master gardener. They are three gallons and looks like some drainage holes are already marked.,but they are trash cans. 😆 This is March 14, 2022 and they were $1.99 still a steal. We found a lot of gardening items to use for the upcoming planting season.
Kimberly Button
Friday 13th of May 2022
Jo Ann, That sounds great! They are a deal!! Hope you're having a great gardening season!
Cindy
Thursday 6th of August 2020
What size of trash cans are these? 30 gallon r 55 gallon . How tall ? Wondering if they would hold palm trees ?
Thanks
Kimberly Button
Thursday 6th of August 2020
I believe these are 3 gallon. Only for small plants.
Melissa T Duke
Tuesday 6th of August 2019
Thank you so much for that idea. Plus I can spray paint them to the color I want
Kimberly Button
Tuesday 6th of August 2019
So true! It's nice to customize to decor!
Diana Hickman
Monday 17th of June 2019
?I love it! I found a cute bucket at Dollar General and I'm doing the same thing you did-drilling holes in the bottom and painting it. So much fun!
Kimberly Button
Monday 17th of June 2019
Awesome! I'm still using my pots and they do work fabulously! Enjoy!
7 Crops You Can Grow in Trashcans — Practical Self Reliance
Friday 1st of March 2019
[…] peppers can get by in something much smaller. Here are instructions on how to create a really classy planter from a small inexpensive trashcan, which you can often pick up for under […]