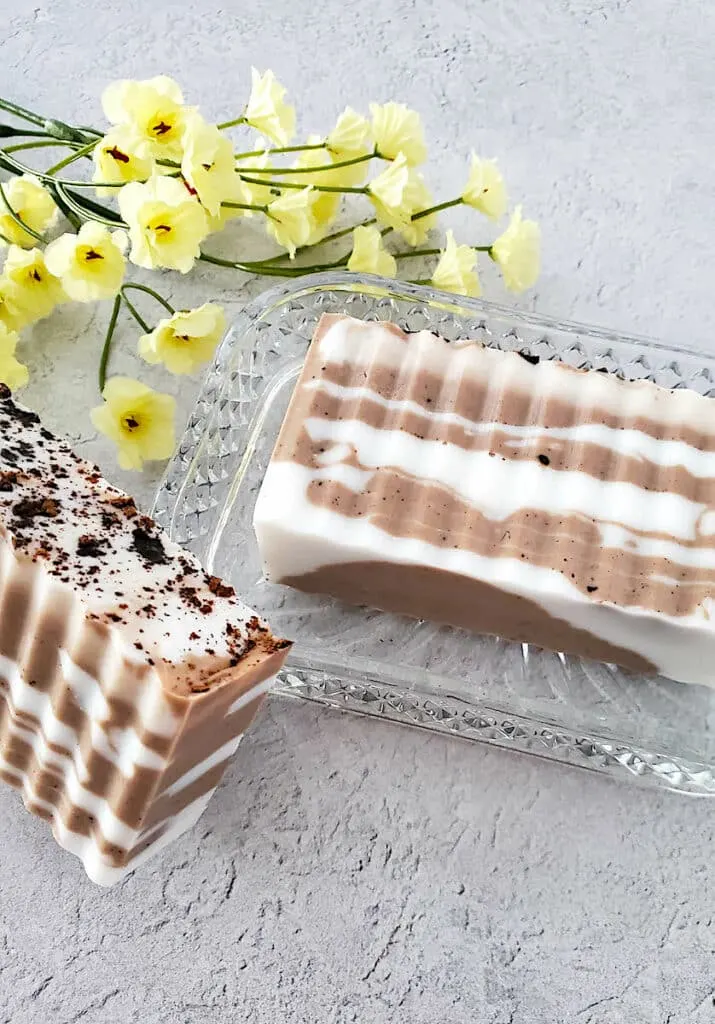
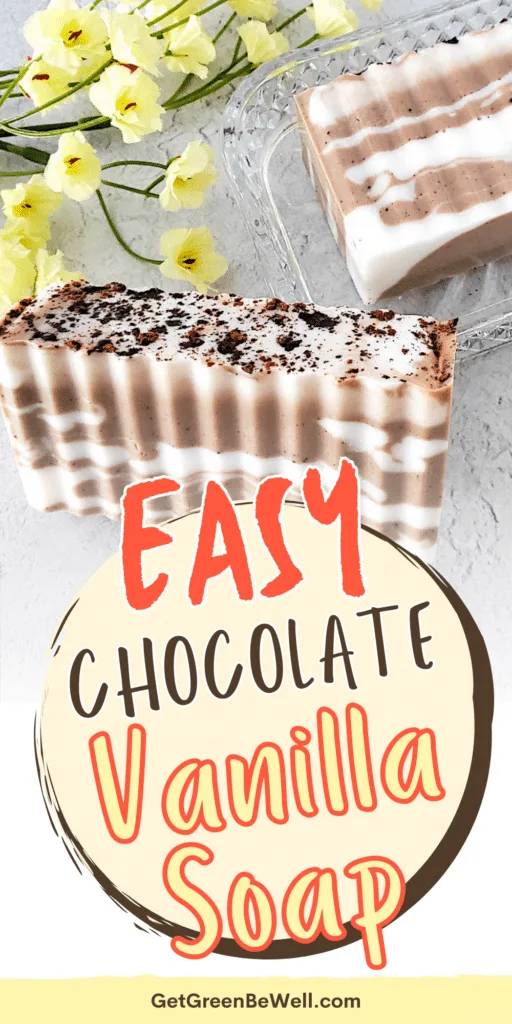
Chocolate and Vanilla might be two of the most popular fragrances in the entire world! Why not combine them together to make a delicious-smelling soap that looks fancy but is actually quite easy to make?
Our vanilla and chocolate soap is made with a melt and pour soap base and essential oils. A layered pouring technique gives these handmade soap bars a designer touch that is very easy to make!
Helpful Tips
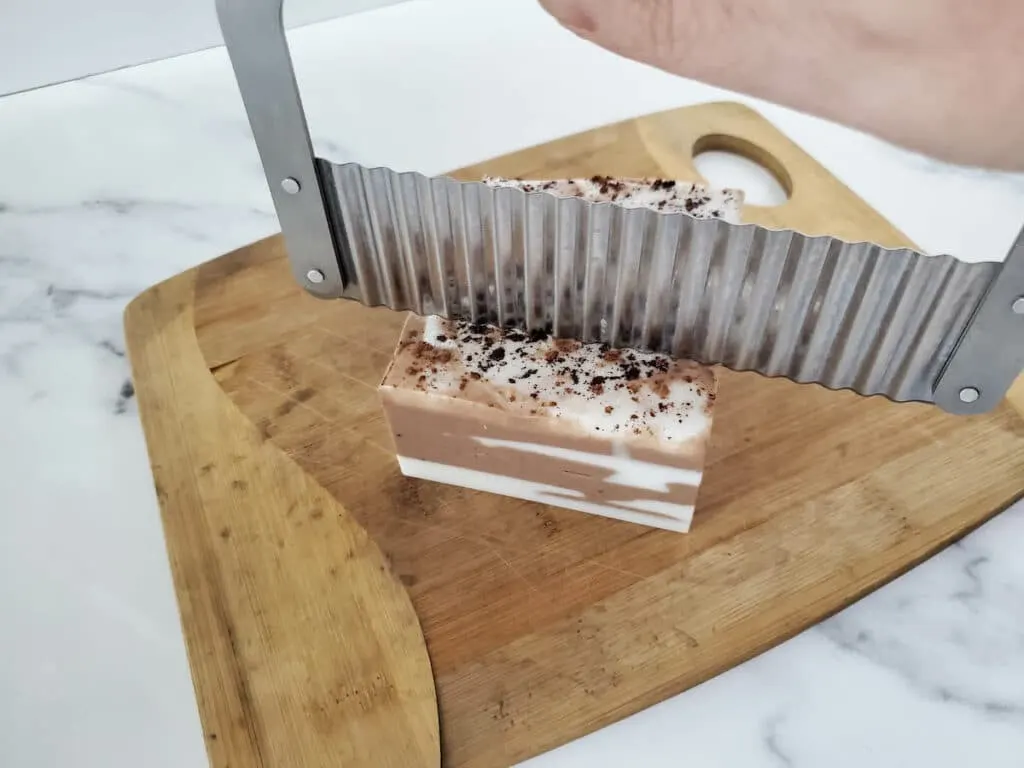
- You do not have to use a wavy cutter, but it does give a pretty effect for the bar of soap.
- I used cocoa absolute to make the soaps, but this essential oil can be hard to find and is a bit pricey. You can substitute a chocolate-fragrance essential oil blend for the absolute, however the chocolate scent might not be as strong.
- Any soap mold can be used. While we chose a loaf soap mold and decorative cutter for a designer look, you could use other molds that do not require a cutter.
Related Post: 7 Goats Milk Melt and Pour Soap Recipes
DIY Chocolate Vanilla Soap
Supplies
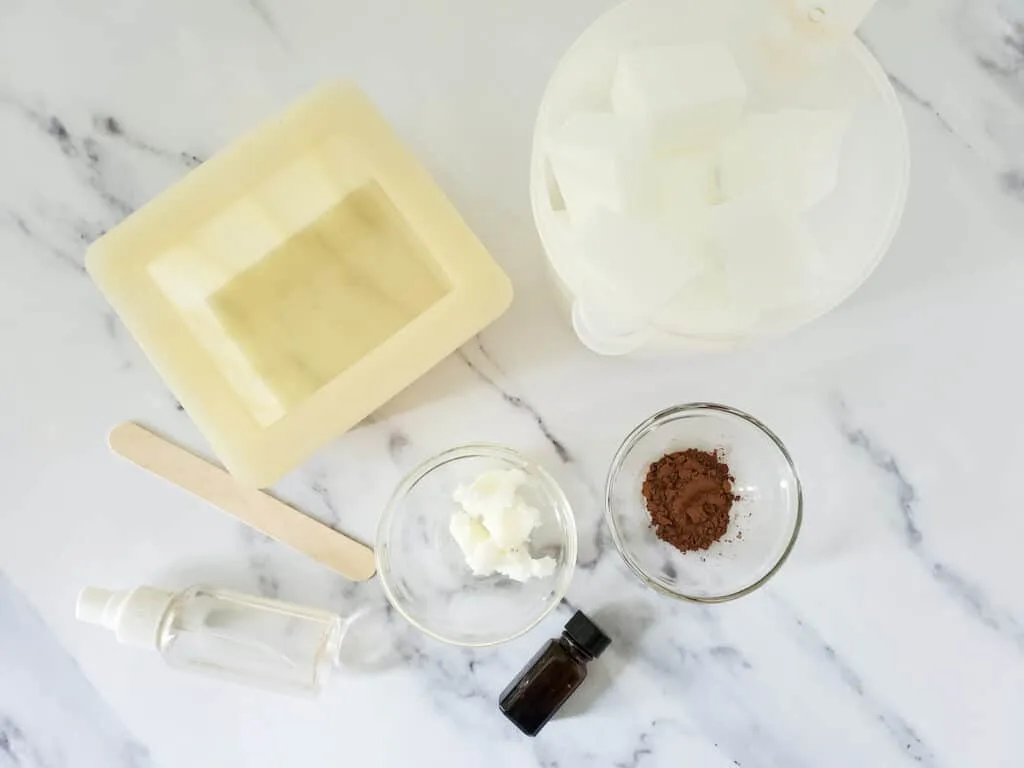
- 1 lb. melt and pour soap base (I prefer using a goats milk soap base but it’s not a crisp white, so you can use any kind if you are looking for a true white color)
- 1 Tbsp coconut oil
- 1 Tsp cocoa powder
- 6 drops cocoa absolute or any chocolate-smelling essential oil, like this Chocolate Truffle
- 10 drops Vanilla Essential Oil (NOT vanilla extract)
- 4” Silicone Loaf Soap Mold
- 2 – 4 cup microwave safe measuring cups
- Wooden craft sticks for stirring
- Spray bottle with rubbing alcohol
- Wavy Soap Cutter
***If you don’t already have soap making supplies, this silicone soap mold + wavy cutter + solid cutter is an EXCELLENT value for what you get! Great for beginners!
Directions
Step 1
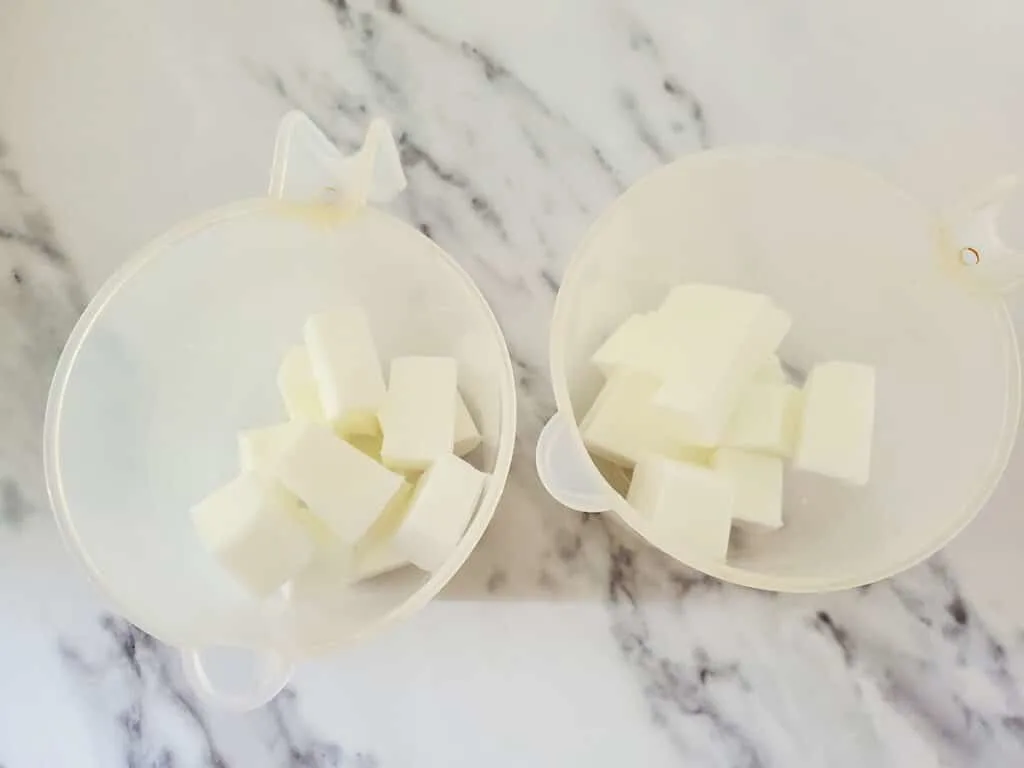
Cut the soap base into 1 inch cubes and divide them equally between the two microwave-safe measuring cups.
Step 2
Heat both cups on high in the microwave for 30 seconds. Remove and stir well, then heat for additional 10 second intervals, stirring between each heating session, until fully melted.
Step 3
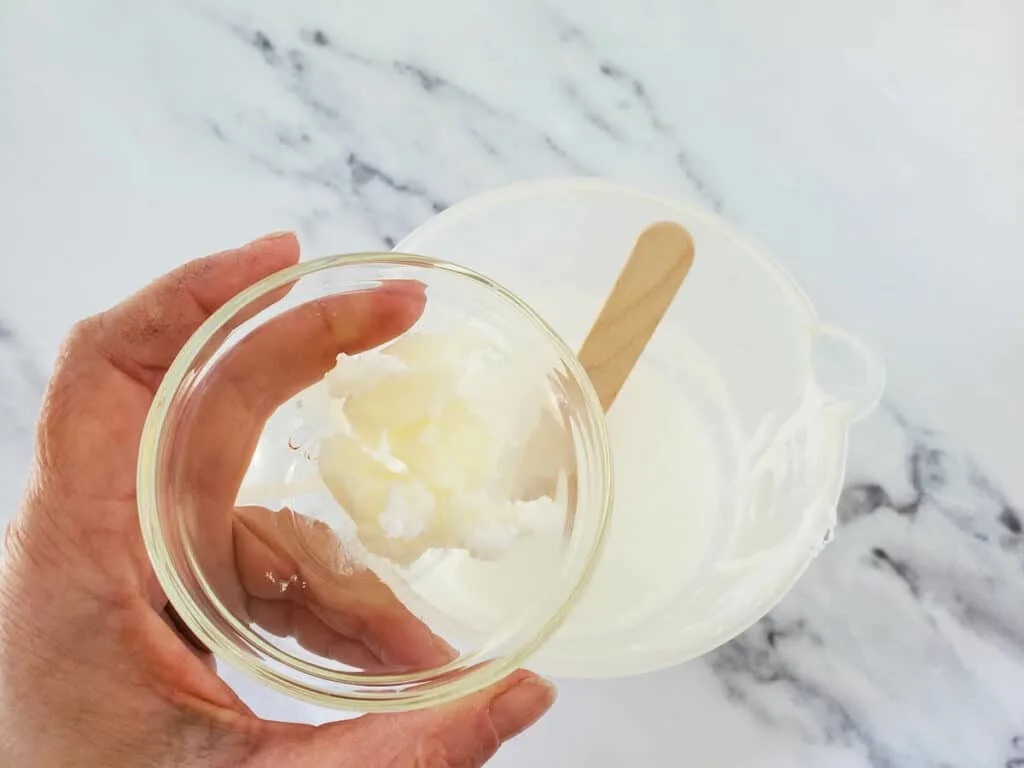
Add the coconut oil to one of the cups and stir until it is melted into the soap base.
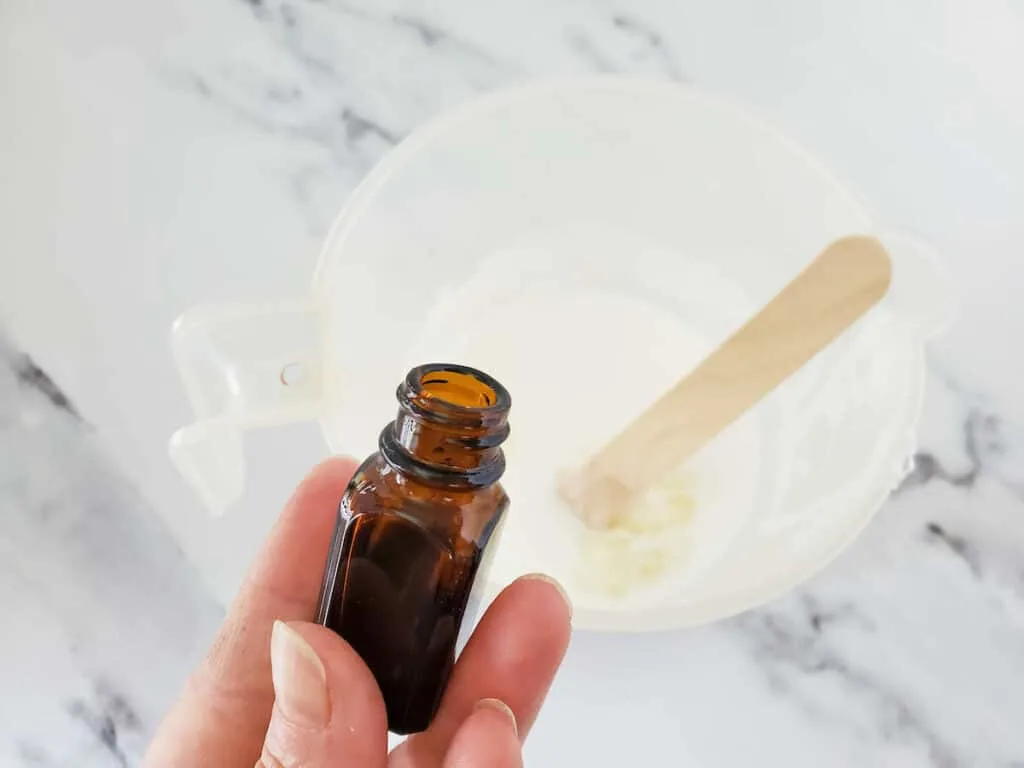
Then stir in the vanilla essential oil into this cup.
Step 4
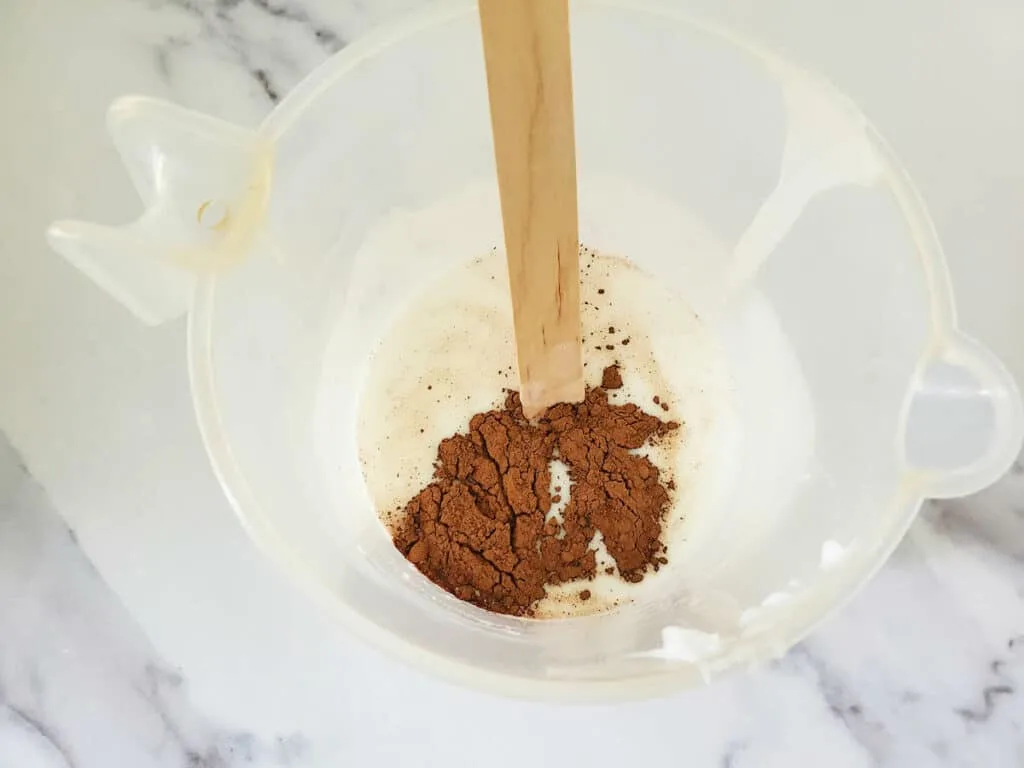
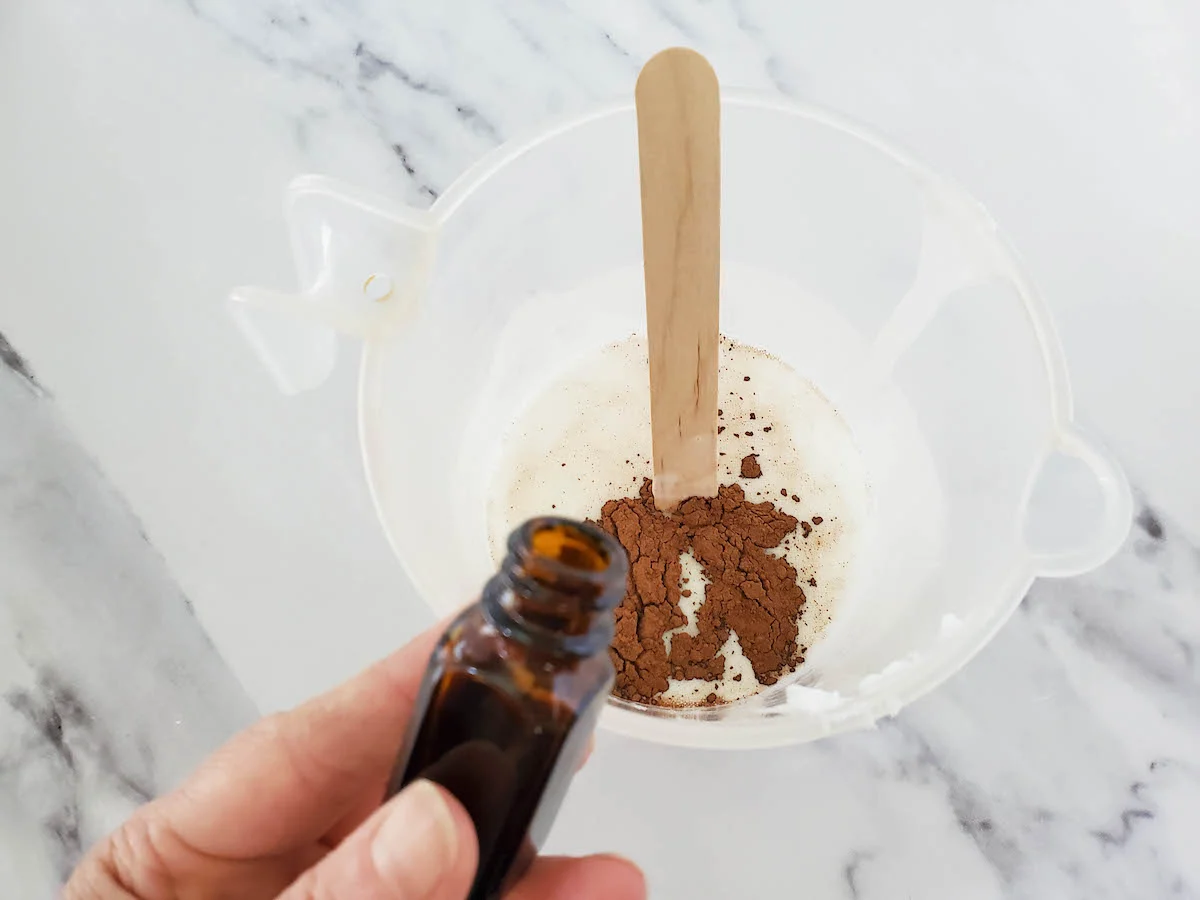
Add the cocoa powder to the other cup and stir well to combine.
Then stir in the cocoa absolute or chocolate-smelling essential oil.
Step 5
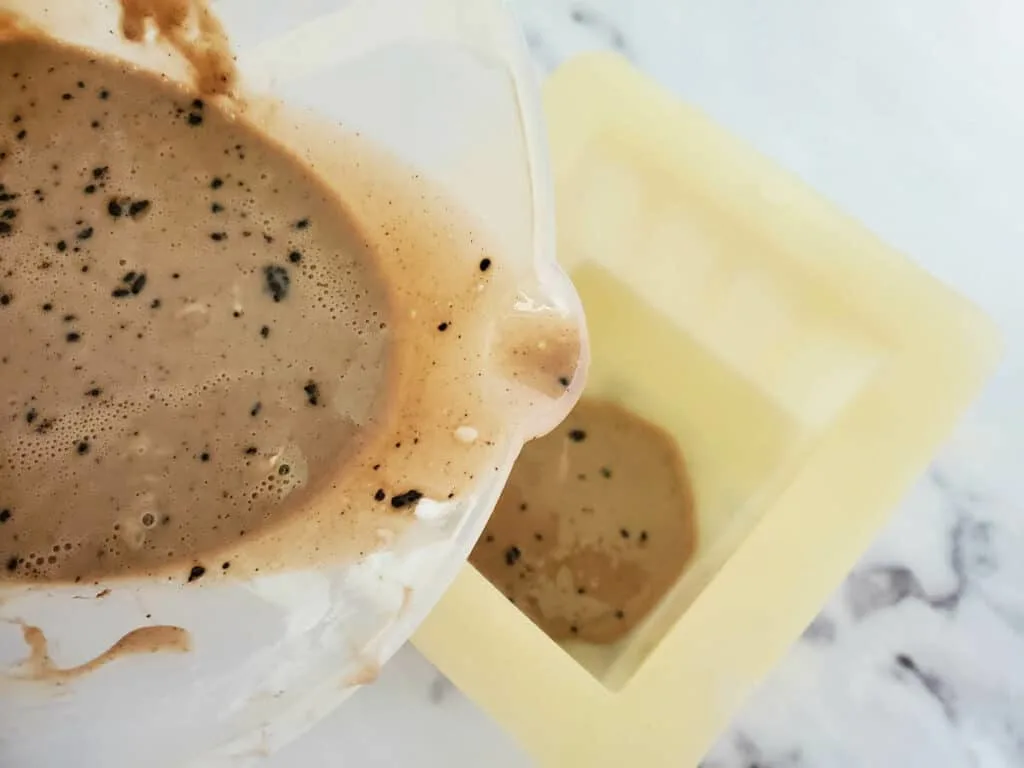
Pour a small amount of one of the soap bases into the bottom of the mold. For the swirl effect, do not cover the entire bottom. Allow to set for a few seconds.
Step 6
Pour a small amount of the other soap base into the mold, on the opposite side, overlapping the other soap base slightly.
The entire base should be covered at this point.
Step 7
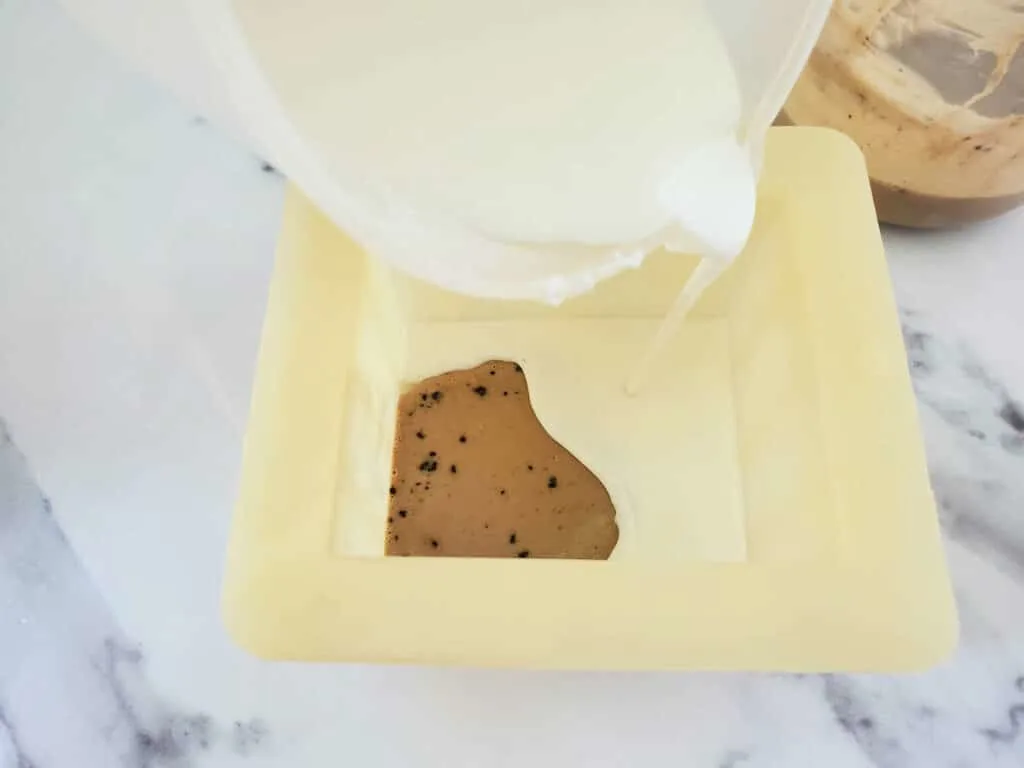
Repeat the soap pouring process, alternating soap bases.
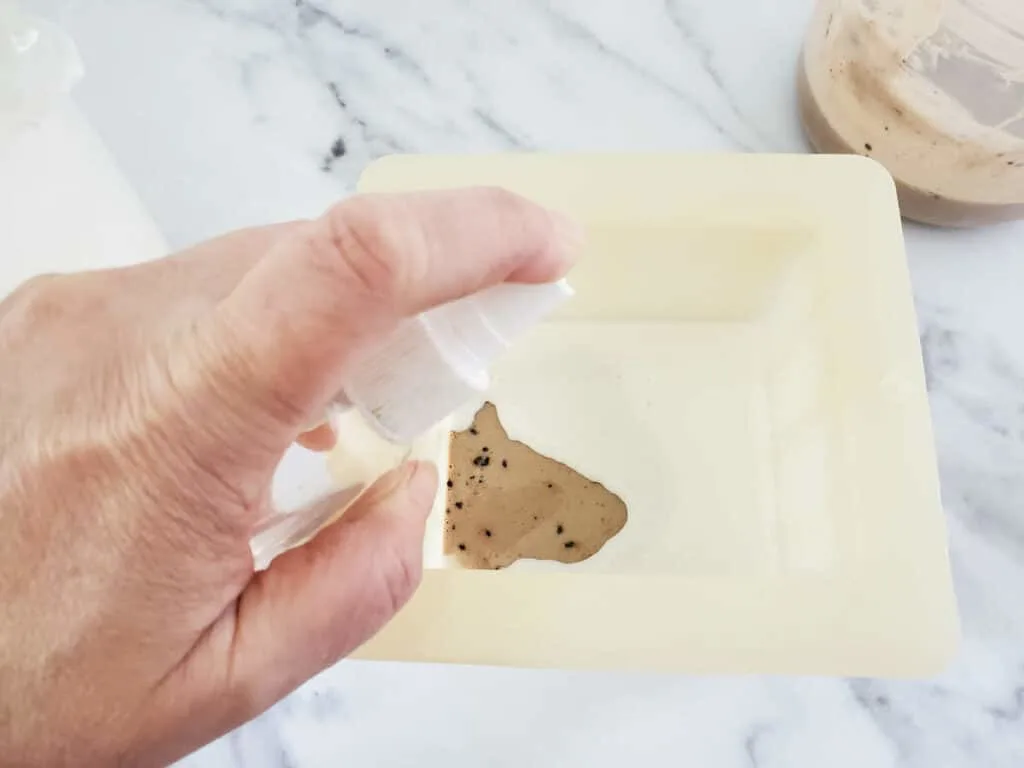
Every now and then, spray a little rubbing alcohol between the layers.
The soap will probably start to thicken up during this process, so you will likely need to reheat the soap base. Heat in 10 second intervals, when needed, and stir well.
Step 8
Once you have used all the soap base for your layers, sprinkle a little bit of cocoa powder on the top.
Allow the soap to set for at least 4 hours to harden.
Step 9
After it has hardened, remove the soap from the mold and cut it into 1 inch bars with the wavy cutter.
If you want to save this recipe for later, be sure to Pin It! (Sharing this DIY soap recipe to Pinterest or Facebook helps us out so much, so if you share, thank you!!!)
If you love easy melt and pour soap recipes, be sure to see our other DIY soap ideas:
- Homemade Cinnamon Oatmeal Exfoliating Soap
- Coffee Soap
- Goat Milk and Honey Soap Recipe
- Turmeric Soap
- Layered Honey Oatmeal Soap Recipe
- Christmas Tree Soaps with Real Pine
- Yarrow Soap
- Lemon Poppyseed Soap with Rosemary
